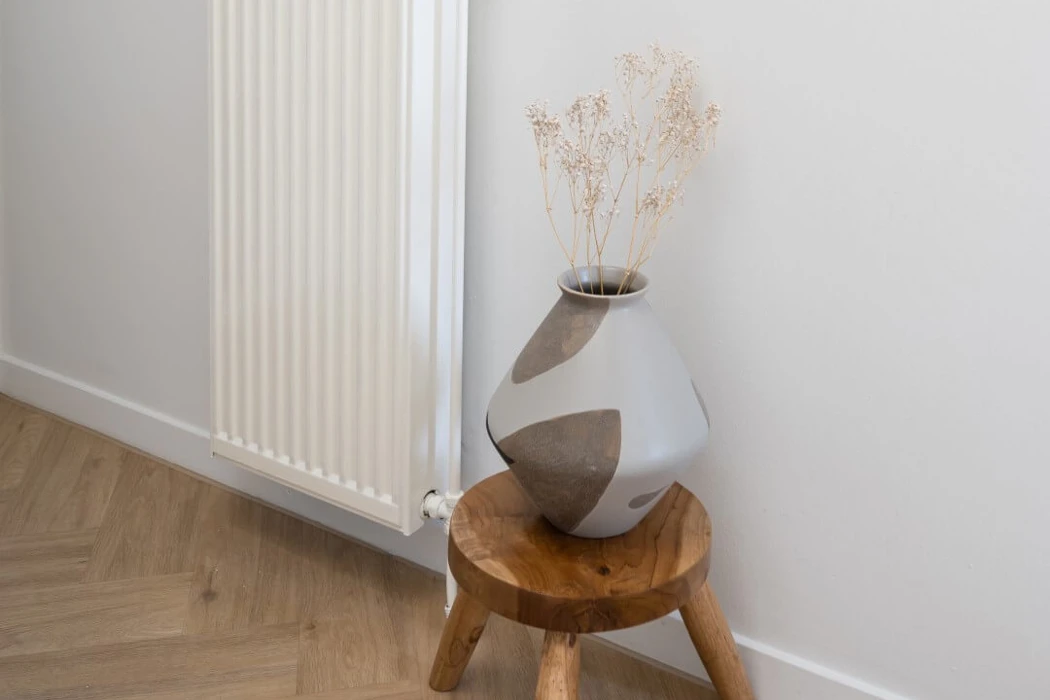
Regularly cleaning your radiator is essential for optimal operation and a healthy indoor climate. Dust and dirt can accumulate between the fins, which can reduce heat output and increase energy costs. And we all know: radiators can become real dust magnets. By thoroughly cleaning your radiators at least once a year (preferably more often), you prevent these problems.
Radiator cleaning in 5 steps
Cleaning your radiator is the ideal task for the big spring cleaning. In this blog, you will learn in 5 simple steps how to get your radiators clean and dust-free.

The importance of cleaning your radiator
Step 1: Preparation
Even for cleaning your radiator, make sure you come prepared.
Gathering the necessary materials
Before you start cleaning your radiators, it is important to gather the right materials. You will need the following:
- A microfiber cloth
- A bucket with warm water and a mild detergent
- A radiator brush
- A feather duster
- An old towel or sheet
Turn of the radiator and let it cool
Make sure that, before you start, the radiator is turned off and has completely cooled down. This prevents burns.

Step 2: Cleaning the outside of the radiator
We start with cleaning the outside of the heating. This is the easiest part.
Removing dust and dirt
Start by removing dust and loose dirt on the outside of the radiator. First use a dry cloth for dust and then a damp microfiber cloth. Don't forget to also clean the top and sides.
Cleaning stains and marks
Are there stains on the radiator? Then it's best to clean them with a mix of warm water and a mild cleaner. Use a microfiber cloth and rub over the stains until they disappear. Afterwards, dry the radiator.
Tip: Do you have a Sentimo radiator cover on your radiator? This can simply be clicked off and on again after cleaning. If you also want to clean the, read our blog on how to care for a radiator cover.
Step 3: Cleaning behind the radiator: dust
Behind the radiator is a narrow space where dust can easily accumulate. It is important to keep this area clean, but it is also difficult to reach. With a long feather duster, you can easily reach behind it. Don't have one? An old towel or sheet can also do the trick. Slide the towel or sheet back and forth behind the radiator to loosen the dust. Then shake it out outside.
Step 4: cleaning the inside of the radiator
With a radiator brush, cleaning the inside of your radiator is a breeze. The inside of the radiator has narrow spaces, making it not so easy to get between them. A radiator brush is specially made to fit between the fins of the radiator. Move it gently up and down to remove the dust.
A radiator brush for the inside of the radiator
With a radiator brush, cleaning the inside of your radiator is a breeze. The inside of the radiator has narrow spaces, making it not so easy to get between them. A radiator brush is specially made to fit between the fins of the radiator. Move it gently up and down to remove the dust.
What to consider to clean in a safe way
Make sure that when cleaning the inside of the radiator, you do not use water or other liquids, as this can damage the radiator. Also, do not use harsh cleaning agents that can damage the coating of the radiator.

Step 5: Finishing and double-checking the radiator
Done with cleaning the radiator? Then do a few checks before you turn it back on.
Check for leaks and damage
After cleaning, check the radiator for any leaks or damage. Look closely at the connections and seams and watch for damp spots. Found a leak or damage? Then call in a technician.
Turn on and test the radiator
Is your radiator completely dry? Then you can turn it back on. Make sure it heats up evenly again.
The icing on the cake: a radiator cover
Now that your radiator is completely fresh and clean, this is the perfect moment to give it a new look with a metal radiator cover. Choose a cover in the style and colour that perfectly matches your interior. Don’t worry about measuring or mounting, if you can clean your radiator you can do this too!
